Trim and doors: the small detail that makes a repaint look custom
By Aaron Urbina Marquez · September 14, 2026 · 8 min read
Fresh walls can make worn trim stand out. Preparation, sheen, and a clear surface-by-surface scope help the details look intentional.
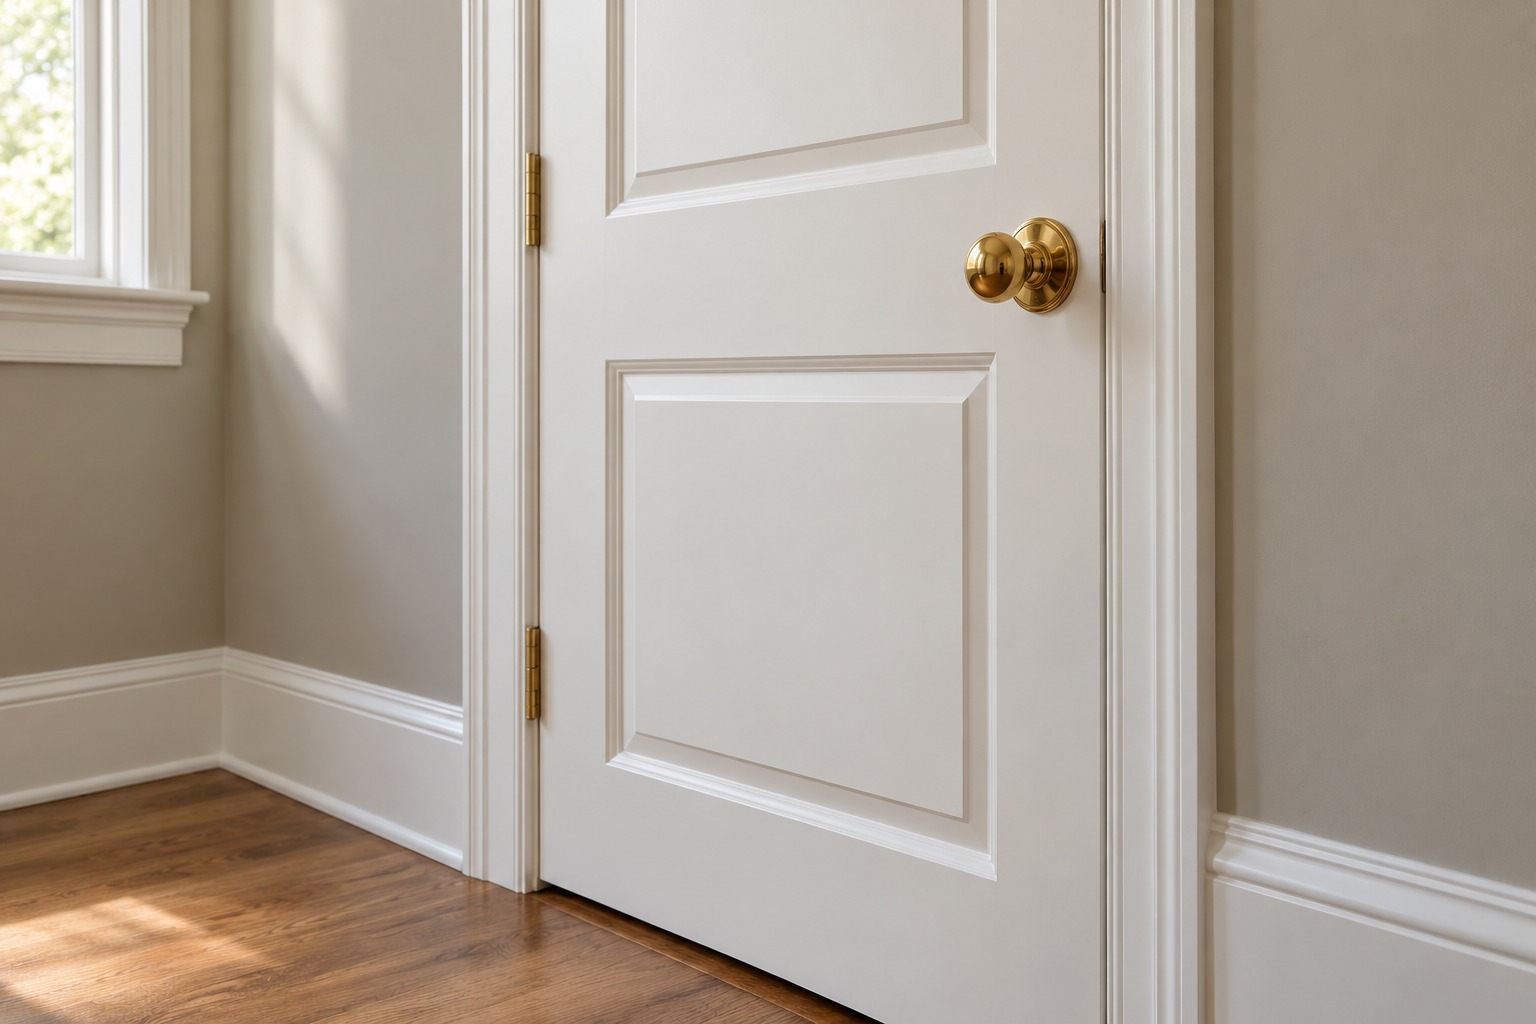
So let's face it, trim and doors frame the room. Baseboards, casings, and doors create the visible lines around fresh walls.
I mean, scuffed or uneven details can leave a room feeling unfinished, even when the walls themselves look great.
A coordinated result does not require ornate trim. It starts with deciding which details need attention and how they relate to the room.
👉 Apply this: fresh walls make worn trim stand out, so trim deserves its own decision — what is included, how it is prepared, what color and sheen it gets, and how it will be cared for after.
Why does trim change the whole room?
Edges are what your eye follows. When you walk into a freshly painted room, you do not just see wall color.
You see the lines around it: baseboards along the floor, casings around doors and windows, and the doors themselves.
If those lines are scuffed, uneven, or a different shade of "almost white" from the walls, the whole room can feel unfinished — even if the wall work is excellent.
Trim also takes more wear than walls do. Baseboards get scuffed by shoes, furniture, and cleaning. Doors get touched, closed, and bumped every day.
Casings get nicked by moving things in and out.
👉 Apply this: if the lines look intentional, the whole room looks intentional. If they do not, the whole room feels off, no matter how good the walls are.
What exactly belongs in the project?
Trim is not a complete scope description.
Walk through and identify each piece, by name, before work starts. A quote that just says "trim" leaves too much to guess.
Which trim, on which doors, in which rooms, and what happens to hardware? Name each piece in the scope:
Baseboards and casings may have different damage or finishes, even in the same room.
Door faces, edges, and frames should be discussed separately — a door face is not the same surface as its edge or its frame.
Name window trim, shelving, and molding if included, rather than assuming they are.
Define hardware removal and reinstallation — who takes it off, who puts it back, and what happens if hardware is damaged or worn.
Do not assume closets or door backs are included. If you want them painted, say so; if you do not, say that too.
That surface-by-surface list is what turns "paint the trim" into a clear job.
The surprise, of course, is discovering mid-job that a door back, a closet, or a window casing you assumed was included was never in the quote.
👉 Apply this: name every piece in the scope, and the trim job stops being a guessing game.
Why does prep matter even more on small surfaces?
A new finish can highlight old defects. Dents, ridges, loose paint, joints, and rough repairs may stay visible unless addressed.
In fact, a fresh, clean finish can make them more noticeable, not less, because there is no longer a worn coating to hide behind.
That is why trim preparation matters even more than wall preparation in some ways. Trim is close to eye level, close to touch, and full of edges where defects show.
Previously stained wood, glossy trim, and manufactured materials can need different preparation or primer. Primer is the base coat that helps new paint stick and cover evenly.
Ask how adhesion will be addressed rather than assuming paint bonds to anything. Adhesion just means how well the paint grips the surface underneath.
For uncertain old coatings, discuss testing or special handling before disturbance. Avoid casual sanding without understanding the material.
Those are not scare tactics. They are the questions that keep a trim job from peeling or looking rough a short time later.
Joints deserve special attention on trim. Baseboards and casings meet walls, floors, and each other at joints, and those joints move, crack, and open over time.
Caulking, filling, and smoothing those joints is part of preparation, not an extra. Caulking is sealing those little gaps so paint has a smooth line to sit on.
👉 Apply this: a quote should say how joints will be handled, so you are not surprised by a crack line showing through new paint.
How do you choose trim color and sheen together?
There is no universal trim formula. White is not the only option, and the brightest white is not always the best companion to flooring and walls.
A trim color that looks crisp in a store can look harsh beside warm flooring, or disappear beside cool walls. The right choice depends on the room, not on a rule.
When you choose trim color, compare it the same way you compare wall color:
Compare samples against the chosen wall color, not alone on a card.
Include nearby cabinets and existing doors, so trim does not clash with finishes that are staying.
Decide how much contrast you want around openings — high contrast makes trim a feature, low contrast makes it blend in, and both can look right in the right room.
Discuss cleaning needs and how sheen reveals imperfections. A glossier trim finish is often easier to clean, but it also shows dents, ridges, and rough repairs more clearly than a softer finish does.
Sheen, remember, is how shiny the paint looks. That last point matters for trim more than for walls, because trim is touched and cleaned often.
A finish that is easy to wipe down but shows every dent is not automatically better than a finish that hides small defects but needs gentler cleaning.
👉 Apply this: the choice should fit how the room is used, not just how it photographs on day one. Bada bing, bada boom — used rooms beat pretty photos.
Why do doors deserve their own conversation?
A door is three surfaces, not one. The face is what you see, the edge is what you touch and what closes against the frame, and the frame is what holds it all together.
Each one can have different wear, different preparation needs, and different finish considerations. A quote should treat them separately, not as a single "door" line.
Painting will not fix rubbing doors or damaged hardware, so identify those issues first. If a door rubs, sticks, or has worn hinges or handles, say so before painting.
That way the cause can be addressed, or at least noted in the scope. Painting over a rubbing door just gives you a freshly painted door that still rubs — and now with fresh paint to damage.
After painting, follow product-specific advice for closing doors, cleaning, and avoiding contact damage. Dry to the touch is not the same as fully cured.
Curing means the paint has fully hardened, which takes longer than drying. Closing a door too soon, hanging something on it, or cleaning it aggressively before it has cured can mark a finish that would otherwise have held up well.
👉 Apply this: ask what curing guidance applies to the product used, and follow that guidance rather than a general rule.
What if some trim stays untouched?
Old and new finishes meeting is a detail in itself.
If some trim stays untouched while nearby trim is repainted, consider how old and new finishes meet. Original color information may not provide an invisible match to an aged coating.
Paint ages, light changes it, and a color that matched years ago may not match now. That does not mean you must repaint everything.
But it does mean the transition should be planned, not discovered after work starts. The same logic applies to rooms you are not repainting.
Trim in a repainted room that opens onto an unpainted hallway will be seen next to that hallway's trim. And the contrast — or lack of it — is part of the result.
👉 Apply this:stand where you can see both rooms together when you decide, so the choice works in context, not in isolation.
How do you look after trim once it is painted?
Trim lives a harder life than walls. Baseboards get kicked, doors get closed, casings get bumped.
After painting, give trim the curing time the product requires before normal use, cleaning, and contact. Ask what that guidance is for the specific product used.
Ask what cleaning methods are appropriate once it has cured. A finish that is cleaned the wrong way, too soon, will not last as well as the same finish cleaned gently, after curing.
In Riverside and San Bernardino County homes, this detail review helps keep the work scoped clearly rather than leaving assumptions until the job starts.
A clear scope, a clear color and sheen choice, and clear curing guidance are what make trim look custom. Not ornate molding alone.
👉 Apply this: scope it, color it, cure it — that is the whole custom-trim recipe, and none of it requires fancy molding.
Live in Riverside County? Click to see what cities we serve and how we can help you with your painting needs: https://inlandcrestcustompainting.com/riverside-county-painting
Common questions
- Should trim always be white?
- No — white is common, but it is not the only option, and the brightest white is not always the best companion to your flooring and walls. Compare trim samples against the wall color and nearby cabinets and doors, and decide how much contrast you want around openings. The right trim color depends on the room, not on a universal rule.
- Do doors need to be painted if the walls are?
- Not automatically — it depends on the scope you agree on. Door faces, edges, and frames should be discussed separately, and closets and door backs should not be assumed included. If you want doors included, name them in the quote; if you want them left alone, say that too, and plan how old and new finishes will meet.
- How long before I can close doors and clean trim normally after painting?
- Follow product-specific advice for the product used. Dry to the touch is not the same as fully cured, and closing doors, hanging items, or cleaning aggressively before curing can mark the finish. Ask what curing and cleaning guidance applies, and follow that rather than a general rule.